by Todd Pattison
Make your own pamphlet with simple materials from around the house! A pamphlet is a group of folded sheets of paper bound together through a central fold using a piece of thread. You can use it for writing, drawing, and journaling. Watch the tutorial video and follow these easy steps to create your own pamphlet.
Materials
Pages: You can use any of these for the inside of your pamphlet
- Copy or printing paper
- Drawing paper
- Notebook paper
- Light-colored wrapping paper
Cover Paper: You can use the same paper for the cover or any of these
- Decorative paper, such as wrapping paper
- Thin cardboard from a cereal box
- Other packaging material
Thread or Twine: Use any of these; your thread must be thick enough to hold, and roughly 3 times longer than your paper
- Sewing or embroidery thread
- Thin garden twine
- Kitchen twine
- Thin knitting yarn or ribbon
Tools
- Sewing Needle
- Scissors
- Straight Edge
- A small Awl
- Pencil
Step One
Line up each sheet of paper, including the cover, and fold them in half. If you are using standard 8 ½” x 11” paper, you can fold them along the long edge for a square shape, or along the short edge for a skinnier shape.
Step Two
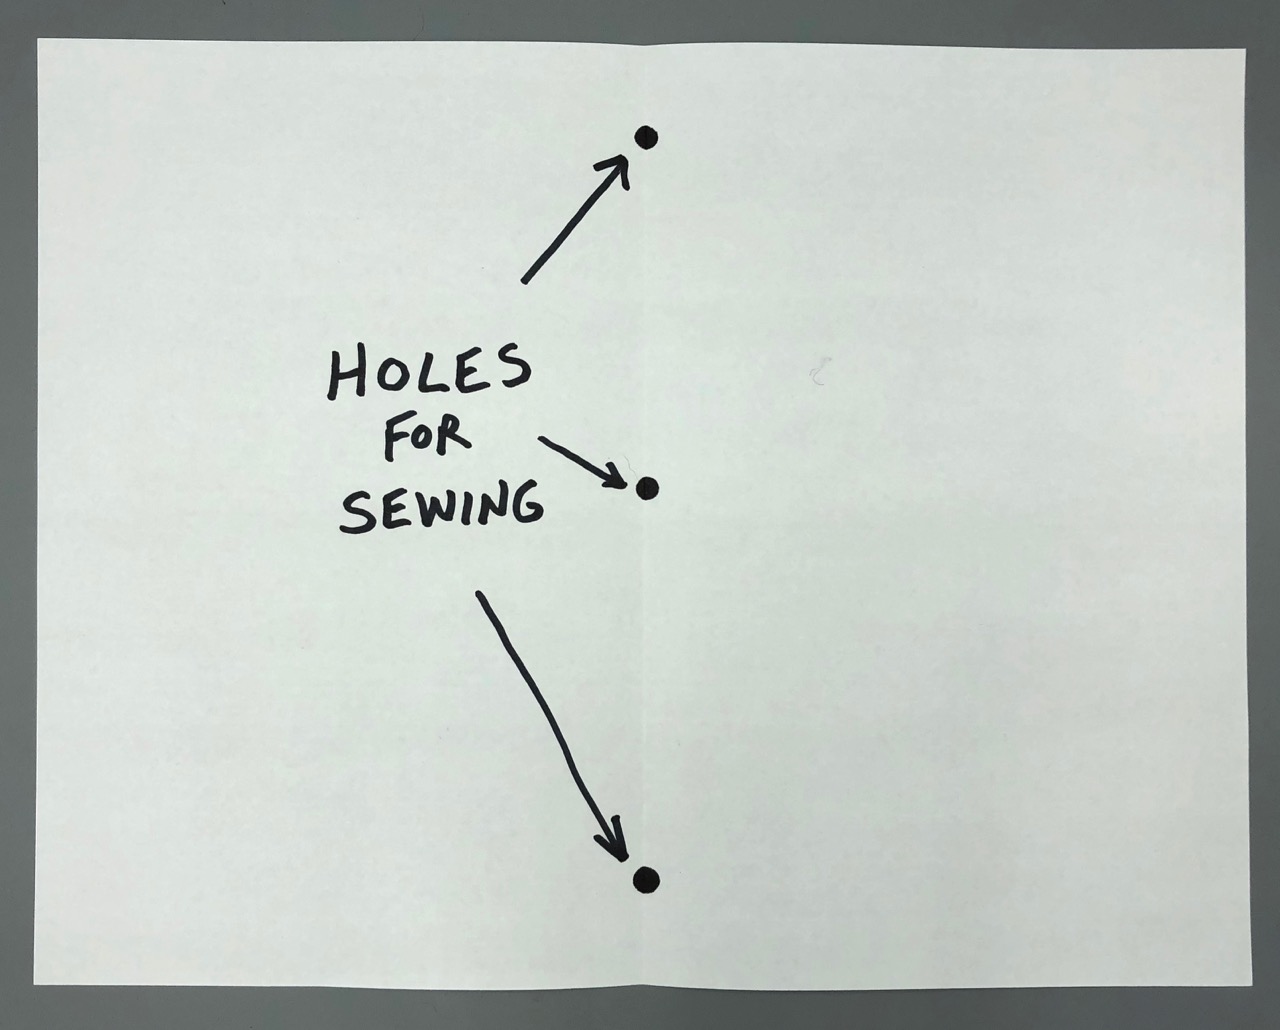
Make three holes in the paper, each one through the fold. One hole will go in the center, and the other two holes will go about an inch from each end of the paper. It is easier to poke the holes starting on the inside of the paper.
Step Three
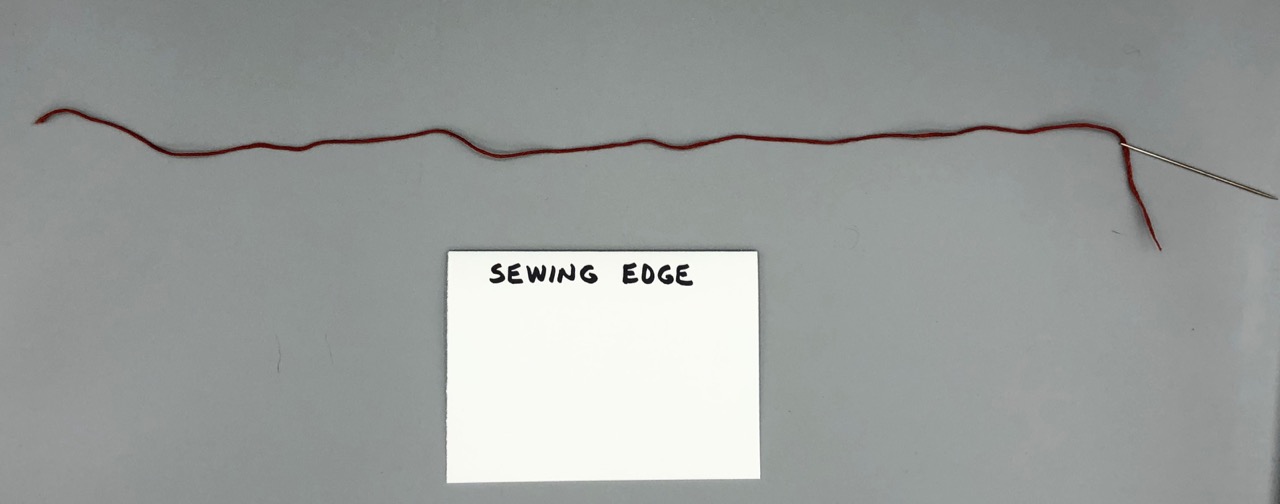
Make sure your sewing thread is three times longer than your paper. This will ensure you have enough thread to sew your pamphlet together. If your thread is too thick to fit in your needle you can lace the thread through the holes with your hand by making the hole slightly larger with the tip of a pencil.
Be careful not to poke your work surface, and more importantly, don’t poke yourself!
Step Four
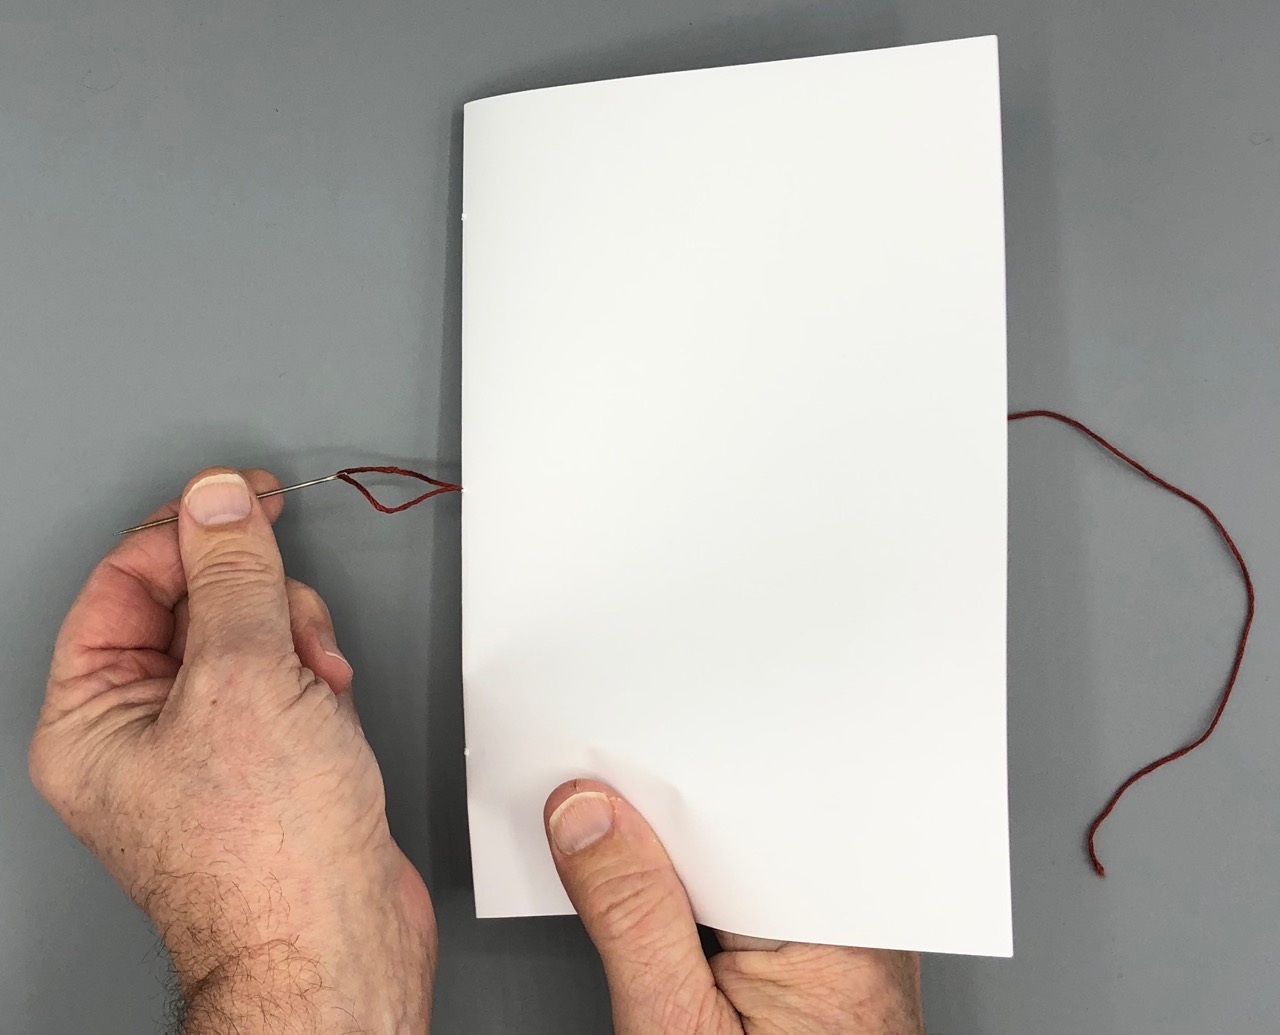
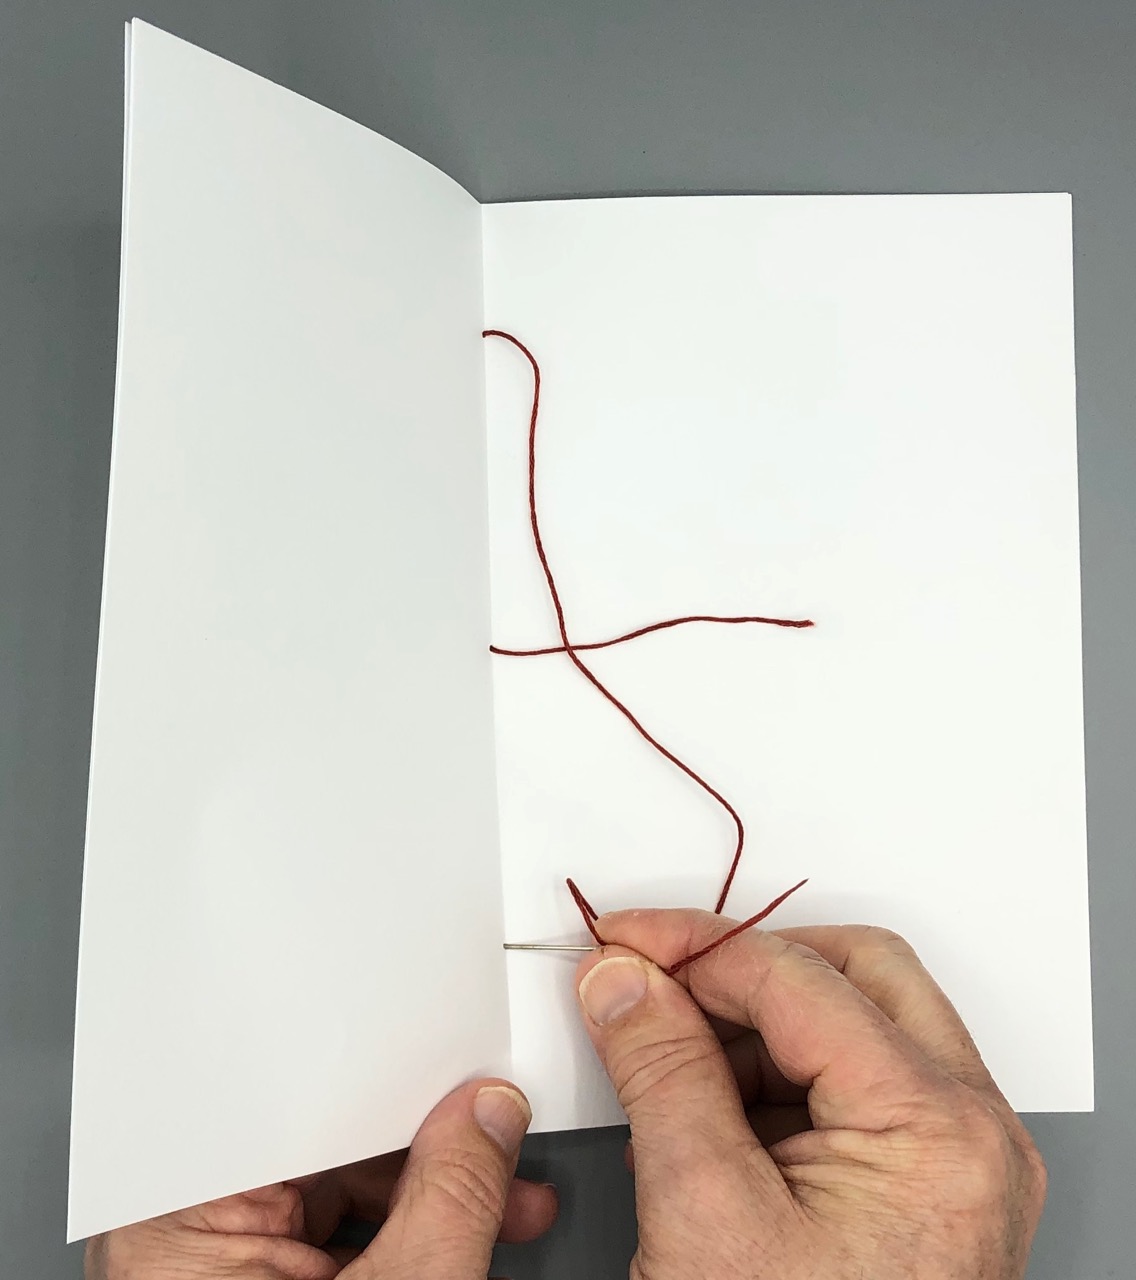
Use your needle to pull the thread through the middle hole first. Leave 3 or 4 inches of thread on the inside of the fold as you will need this to tie a knot at the end.
Step Five
Push your needle through one of the holes on the end, passing back through the inside of the pamphlet.
Step Six
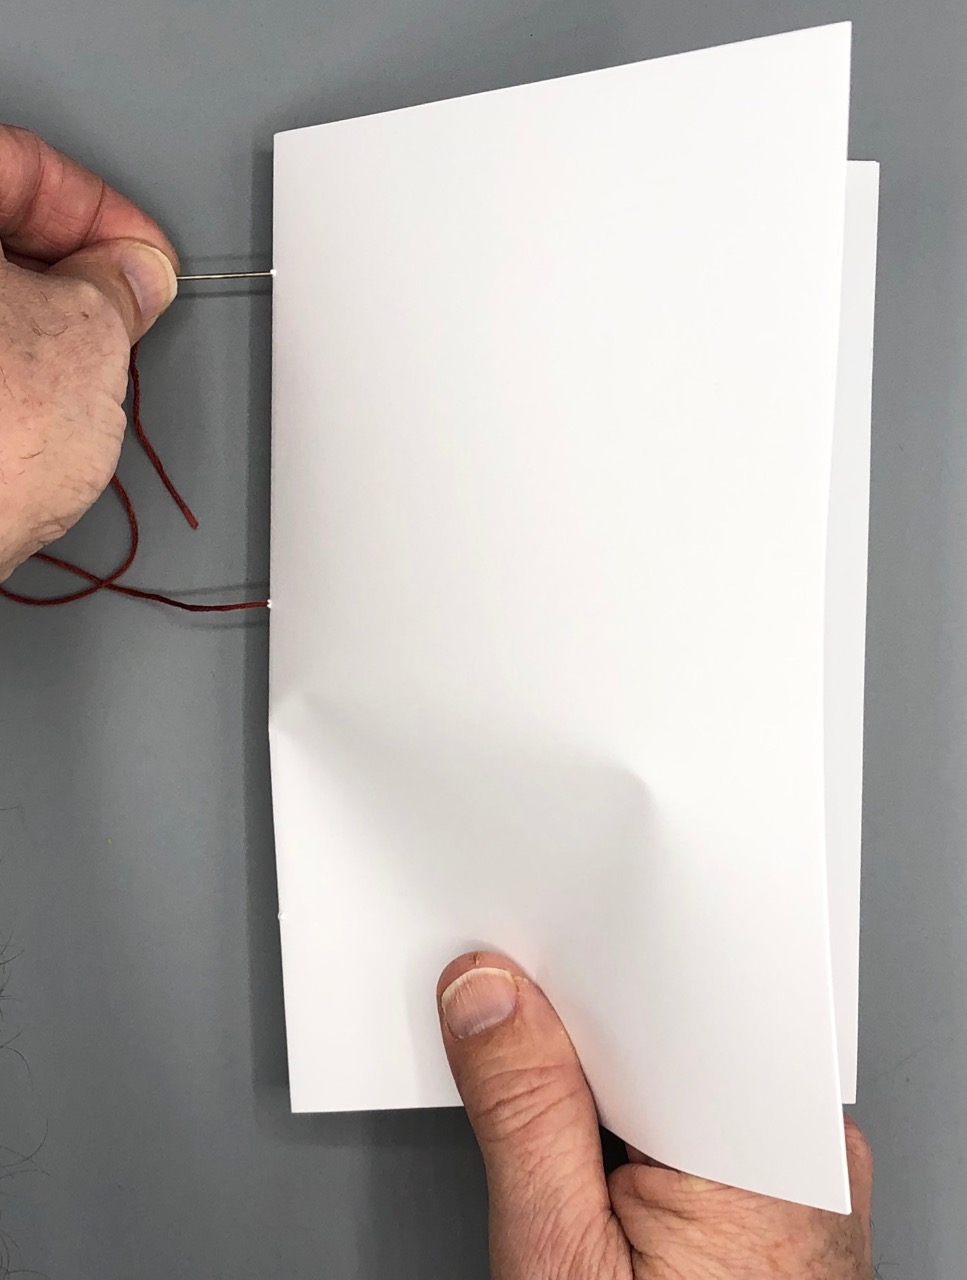
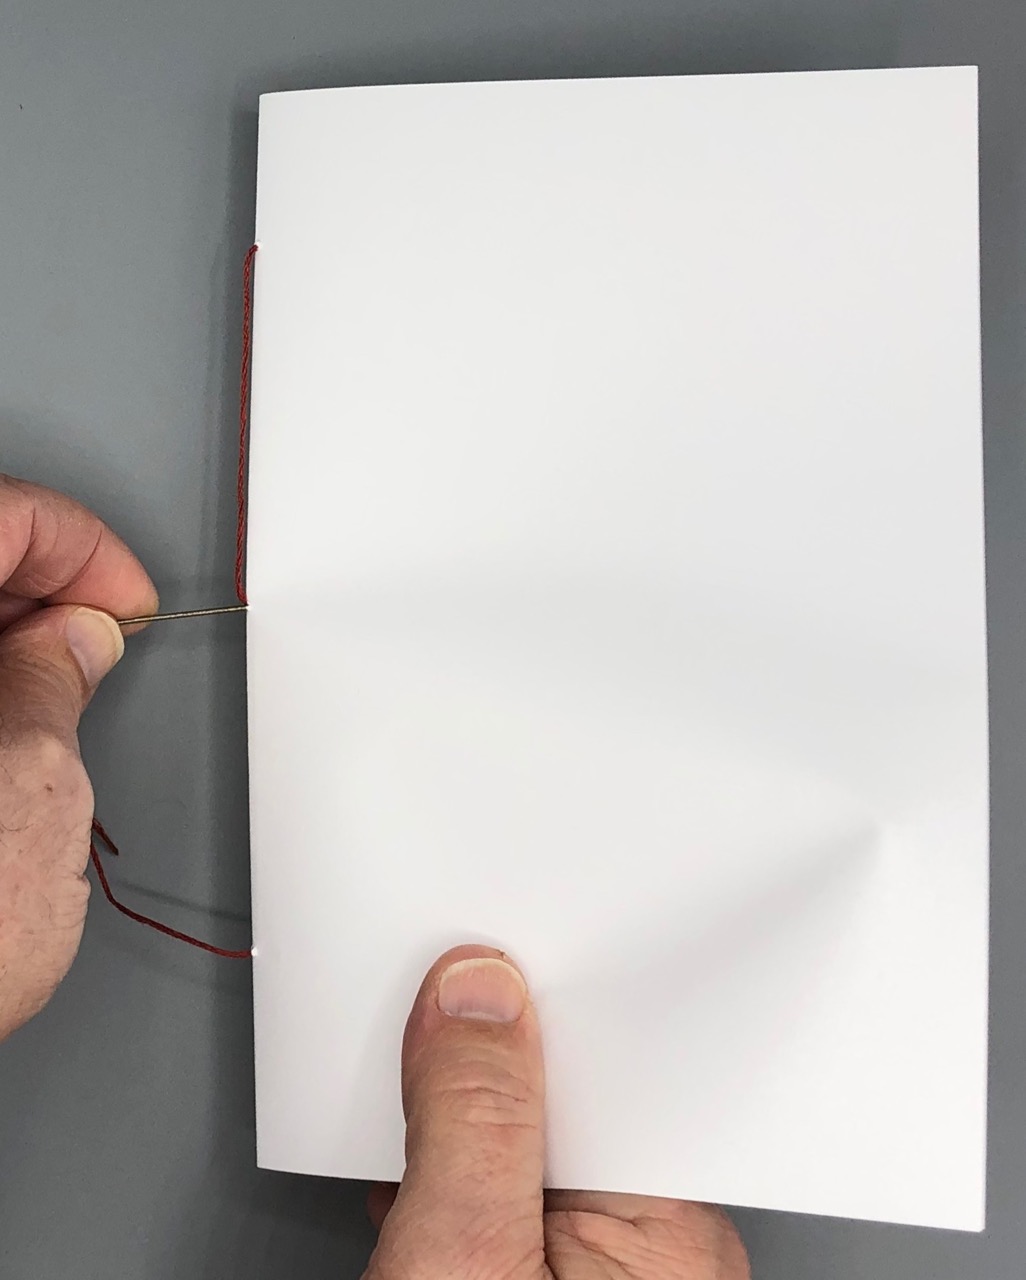
Now skip the center hole and push the needle through the hole on the opposite end of the paper. Push the needle through to the outside of the pamphlet.
Step Seven
Pass back through the center hole to complete the sewing process.
Step Eight
Make sure the thread is tight on the inside and outside of the fold. Tie two overhand knots on the inside of the pamphlet. Make sure it is secure.
Step Nine
Now trim the ends to approximately ½” in length and close the pamphlet.
Step Ten
You’re finished and ready to write, draw, sketch, scrapbook or anything else you would like to do in your pamphlet. You can decorate the cover with stickers, paintings, and drawings. Be creative and have fun!
Extra Step!
If you have access to a printer you can make content with your computer before assembling your pamphlet. You can make multiple copies to share with others or give as gifts. Start your own newspaper, write your life story, or create a comic book.
Todd Pattison
Todd Pattison, Conservator, works to preserve and care for the collection of books, manuscripts, and fine art. Todd comes to American Ancestors with more than 25 years of experience from the Northeast Document Conservation Center, and has also worked as Collections Conservator at the Harvard College Library.
